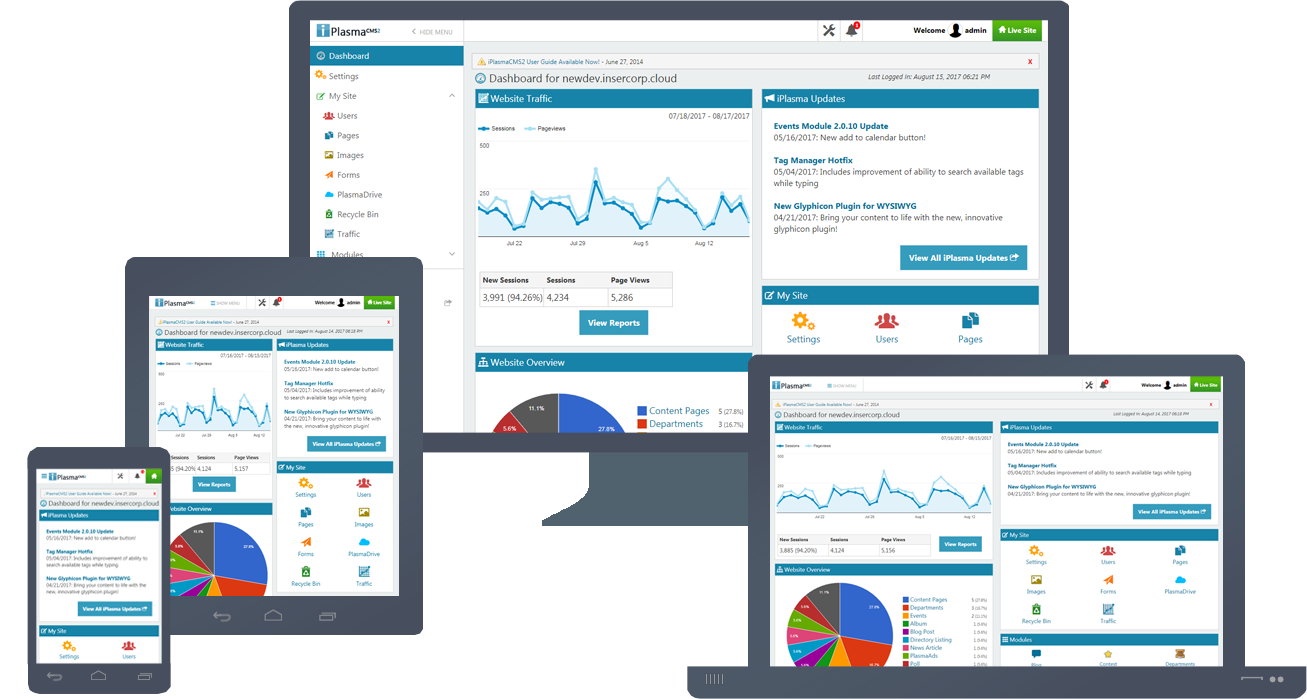
For Website Administrators (or Admins) using iPlasmaCMS2 it is easy to manage Users for Admin Users (those whom the primary Website Administrator provides access to your Website Control Panel) and Website Users, as well as manage Groups for both Admin User Groups and for Website User Groups.
I. Navigate to the Users Management Screen
To manage Users, from your Control Panel Dashboard click on "Users" in the "My Site" card or from the Control Panel Menu, click "My Site" to show the iPlasmaCMS2 default modules and then click "Users".


II. Users Management
Once you have accessed the Users Management screen as an Admin User you may create, edit, or delete existing Admin Users and Website Users as well as create, edit, and delete Admin User Groups and Website User Groups.
- Creating New Admin Users
- Managing and Editing Admin Users
- Adding and Managing Admin User Groups
- Creating New Website Users
- Managing and Editing Website Users
- Adding and Managing Website User Groups
Adding New Users
1a. Click on the “Create New Admin User” button within the “Manage Users” section.

When you do so, this screen appears.
2b. Fill out the form, the following fields are required:
- Username
- Password
- Group
- Manage Users
These fields are optional:
- Display Name
- Image
For more information on how to add and manage groups, see Adding/Managing Groups.
Managing and Deleting Users
To edit a user, click on the pencil next to their name on the list.

A screen will load up that looks identical to the Adding New Users screen. This can be used to edit
- Username
- Display Name
- Image
- Password
To delete the user, simply check the box on left side of the user you want to delete
Click the orange “Actions” button under their name, and click Delete User(s).

Adding and Managing Groups
To see the group manager, click on the “User Groups” button.

![]()
The following window will appear:
![]()
When you create a group, simply click on the green “Create New User Group” button,

fill in a title, and click submit.

To delete a group, simply click the box on left side next to group's name you want delete, and click the red "Delete Group(s)" button under the group's name.

To manage a group, click the pencil on far right next to group's name.

It leads you to a window identical to the one you added the group with. From here, you can edit the name of the group.
Creating New Website Users
If you have pages on your website that you do not want everyone to access you can set the pages to be password protected. The Website users are the accounts that are used to log into those pages.
To Create a Website Users click the tab next to Users Group. Click the green "Create New Website User" button. You can also click the top green down arrow on right side of "Create New Admin User", a drop down box should appear, click "Create New Website User" as shown in picture below.

It should bring up a form that looks like the picture below.
Fill out the form, the following fields are required:
- Username
- Password
- User Group
- Email Address

After carefully have fill out the form click the green "submit" button.
Managing and Editing Website Users
To edit a Website user, click on the pencil next to the user's name on right of the list as shown in picture below.

It should bring up a screen like shown below:

After carefully have fill out the form click the green "submit" button.
To delete Website Users click orange "Actions" button below webuser's names as shown in picture below:

A pop up screen should show like picture below:

Click the green "Submit" button to confirm delete.
Adding and Managing Website User Groups
To see the "Website User Groups" manager, click on the "Website User Groups" button next to "Website Users".

To Create a "Website User Groups" click the tab next to Website Users. Click the green "Create New User Group" button. You can also click the top green down arrow on right side of "Create New Admin User", a drop down box should appear, click "Create New Website User Group" as shown in picture below:

A Screen should show like picture below:

Fill out name and click the green "Submit".
Previous 4.0 My Site | Table of Contents | Next 4.2 Manage Pages


 Made in the U.S.A.